


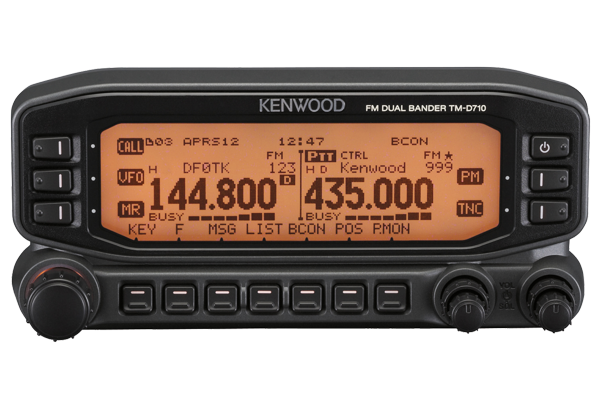
This guide shows how to configure a Kenwood TM-D710E as a stand-alone APRS digipeater using the radio’s internal TNC, without a PC or external TNC during normal operation.
The configuration was developed after a question I posted on the URE forum and a detailed reply from José Antonio, EA1PI. His technical input was essential to the original procedure.
The procedure was prepared and tested on a TM-D710E. Similar settings may exist on the TM-D710A, TM-D710GE and TM-D700 families, but I have not verified menu-for-menu compatibility on those models.
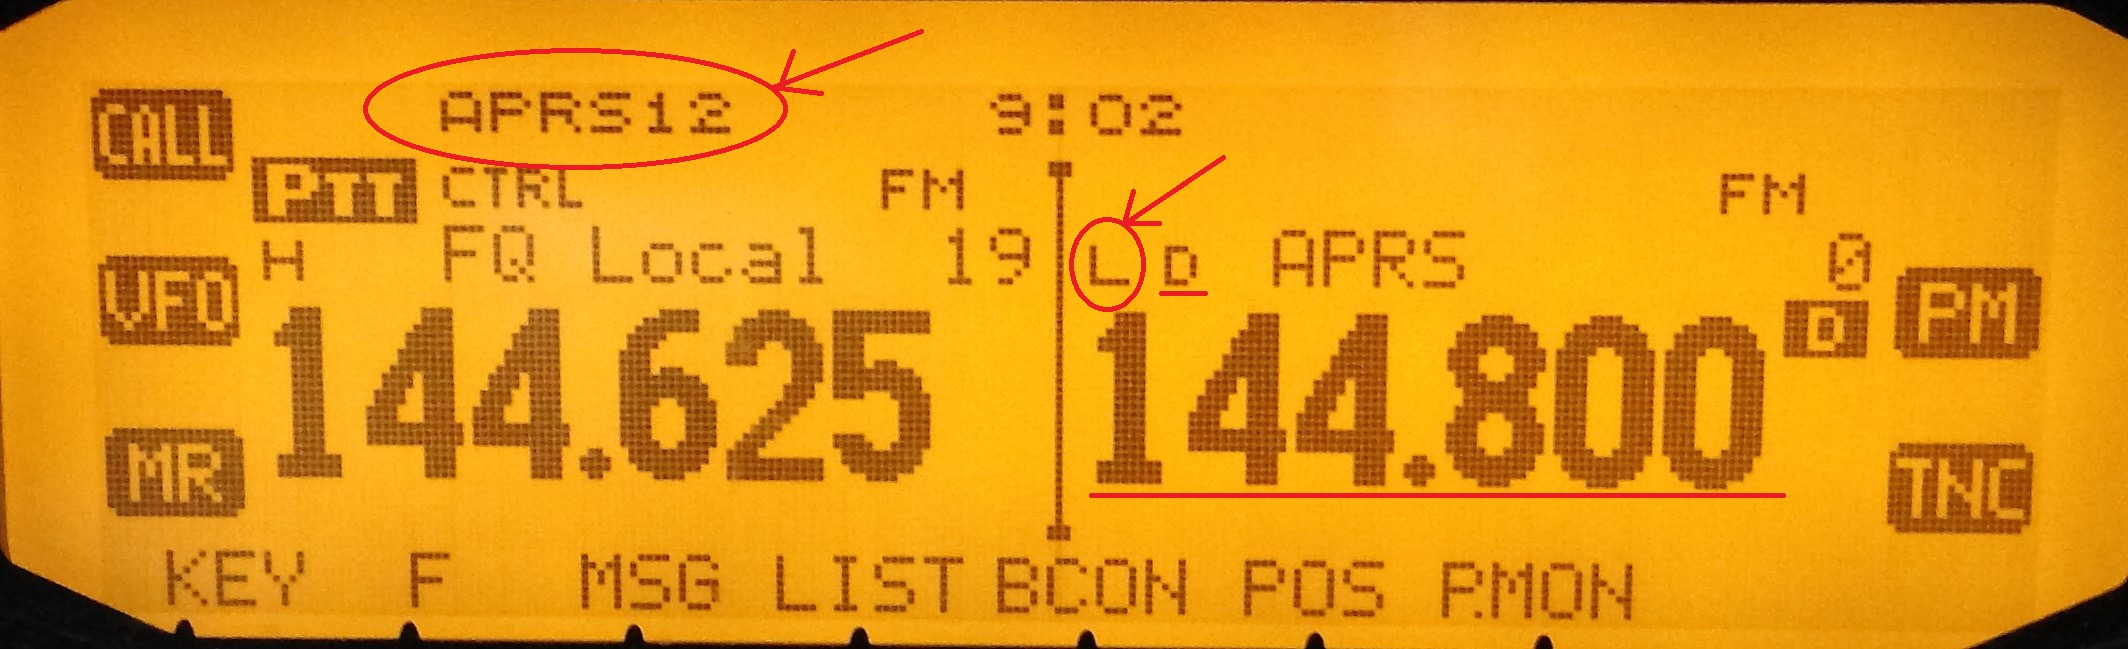
Start from a radio that is already configured for APRS. For a fixed station, use only the power required to reach the local APRS network and avoid unnecessary channel loading.
Open the APRS menu
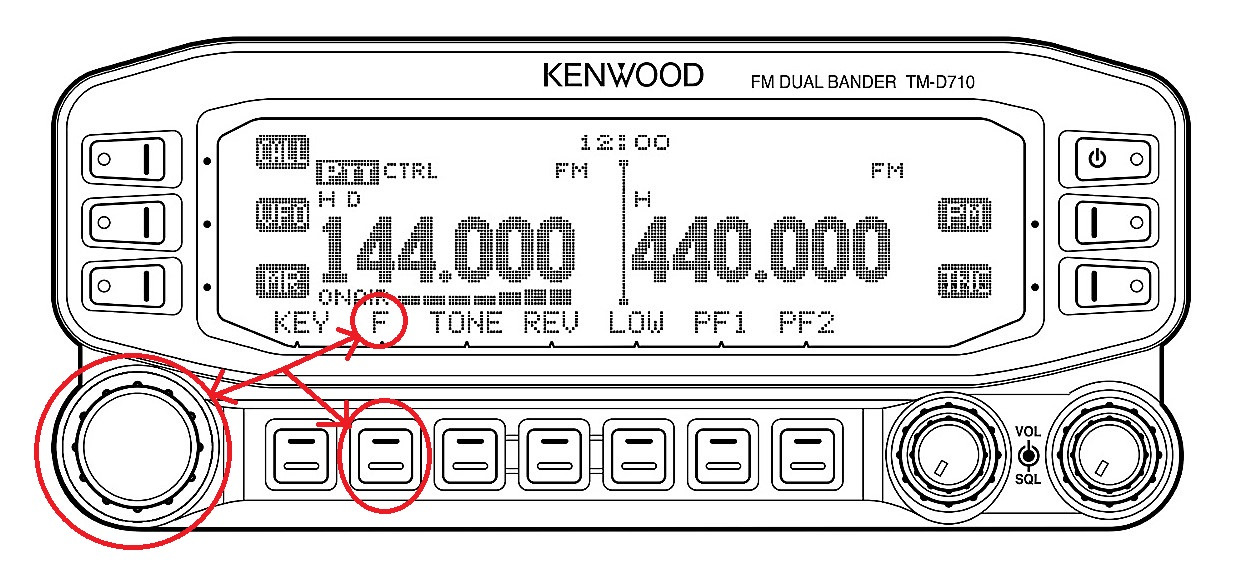
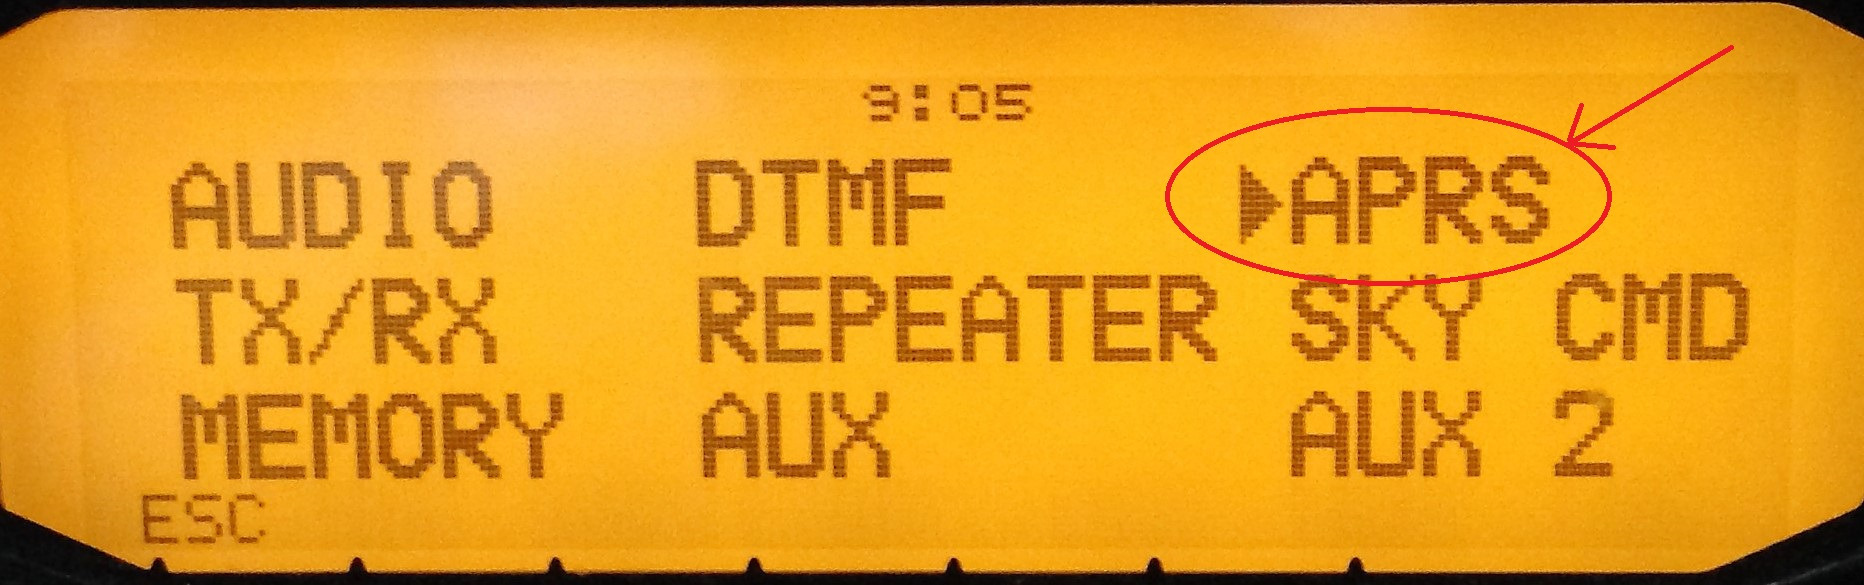
Press [F] and then the TUNING DIAL to enter the main menu. Rotate the dial to APRS and press it again.
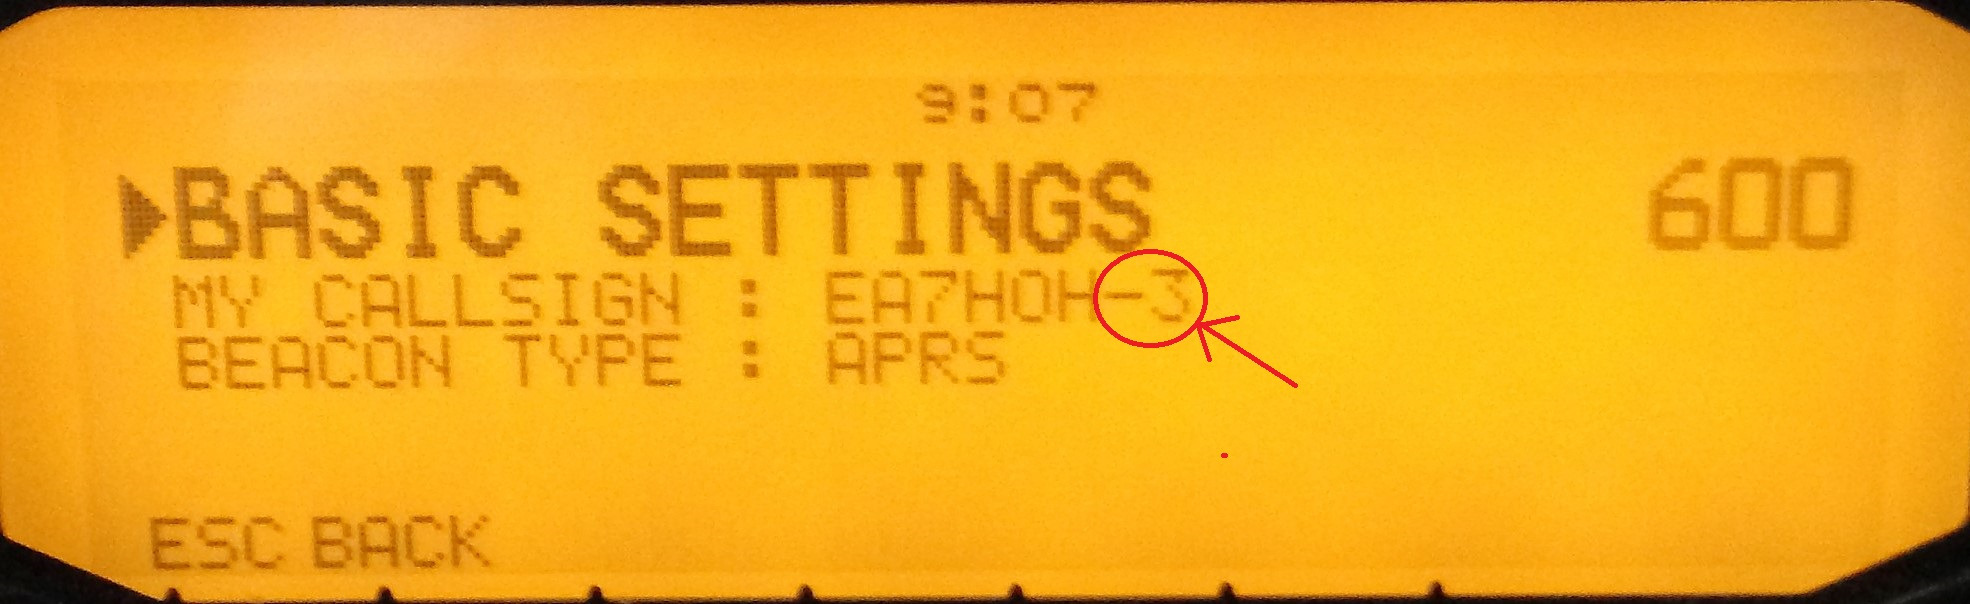
Menu 600 · Callsign and SSID
Set MY CALLSIGN. The original configuration used SSID -3 for the digipeater, for example EA7HOH-3. Adjust the SSID to current conventions in the APRS network you operate on.
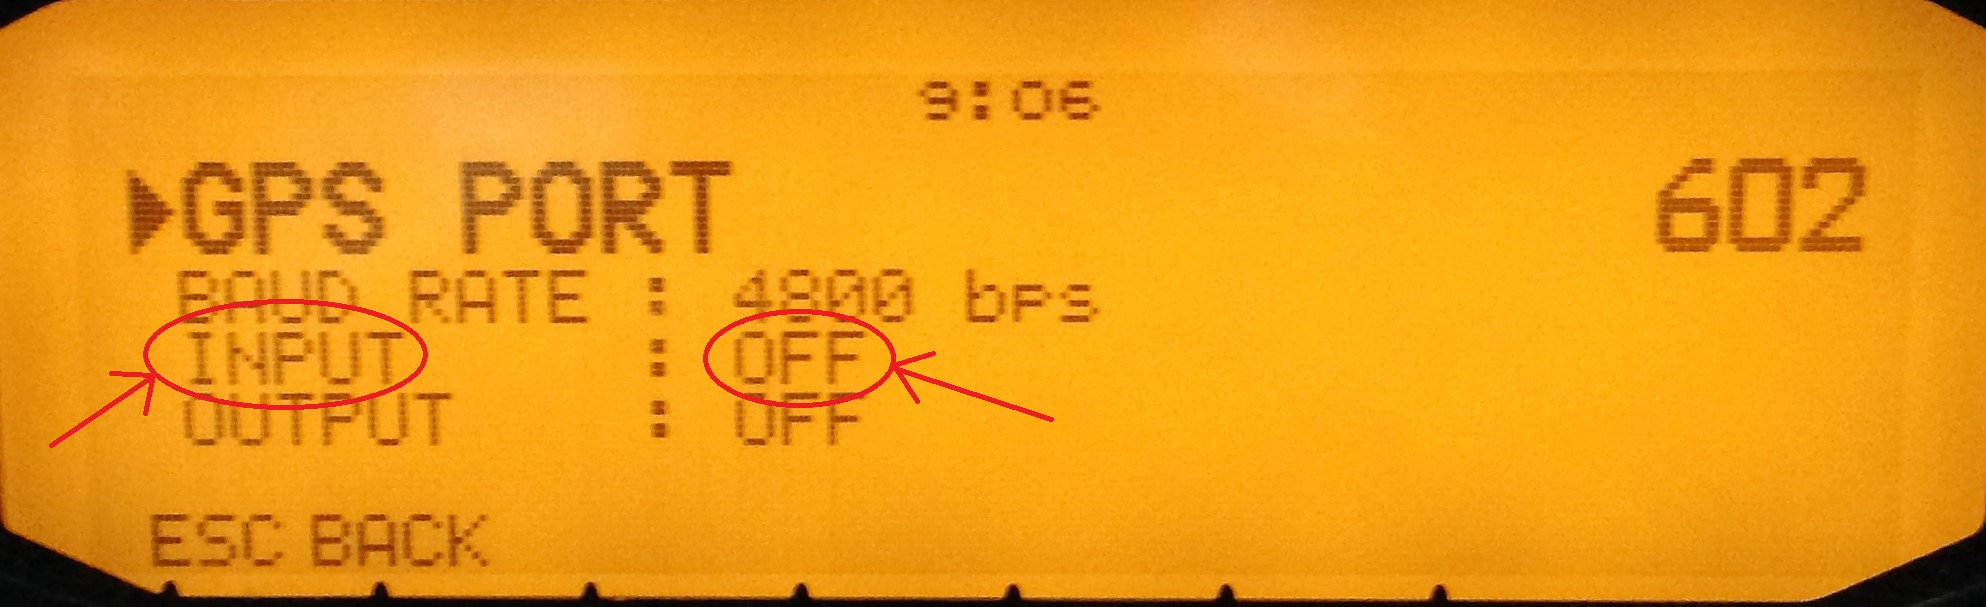
Menu 602 · Position source
For a fixed digipeater with manually entered coordinates, select INPUT: OFF. If you use an external GPS receiver, configure this menu for that receiver instead.
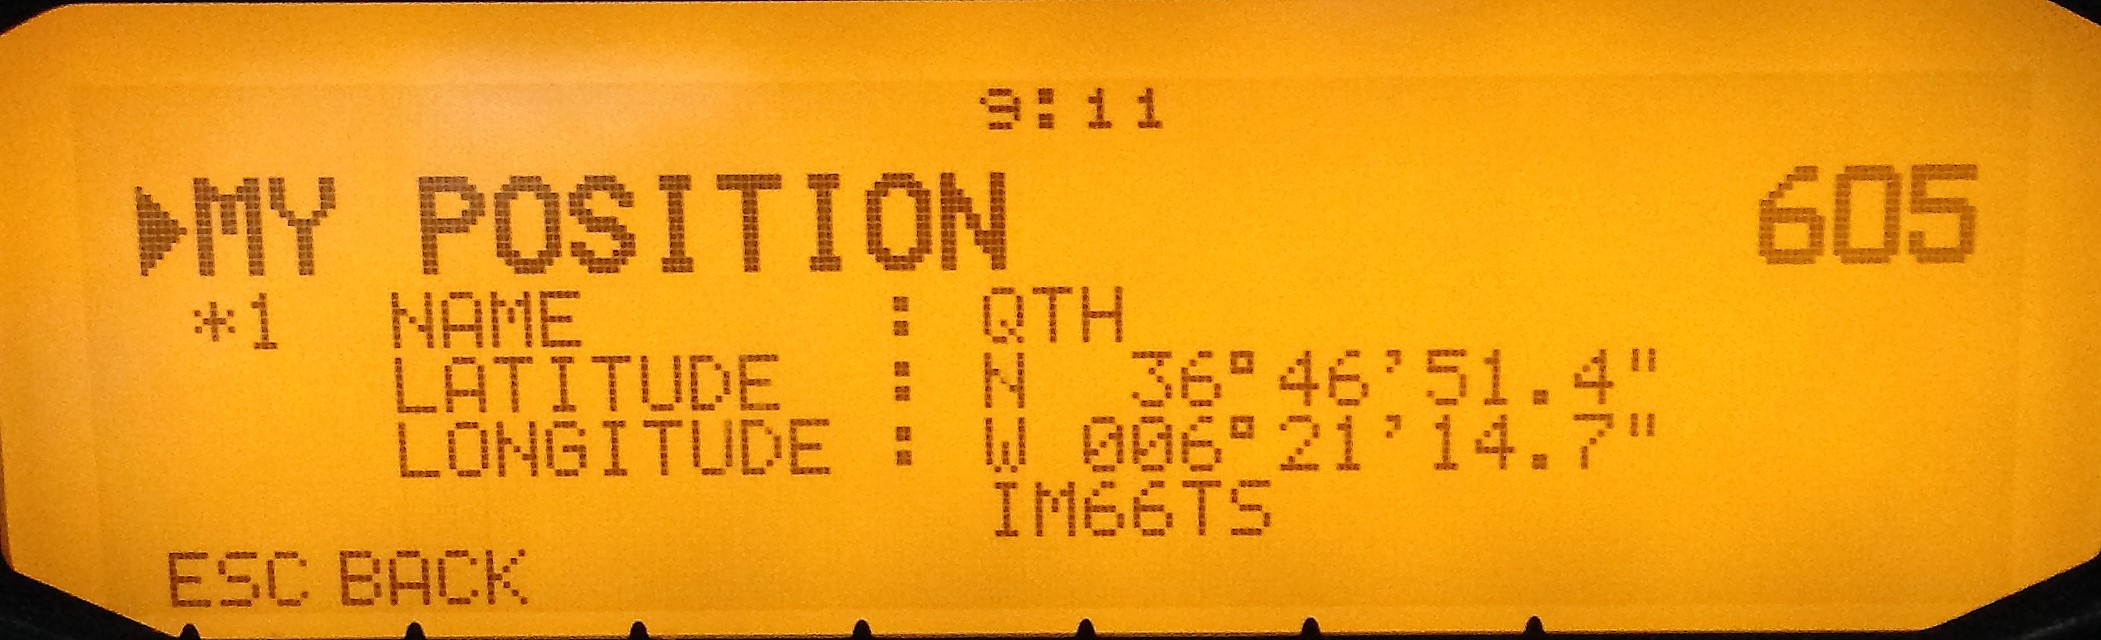
Menu 605 · Fixed position
Enter a useful position label in NAME and set LATITUDE and LONGITUDE. This position will be included in the station’s APRS beacons.
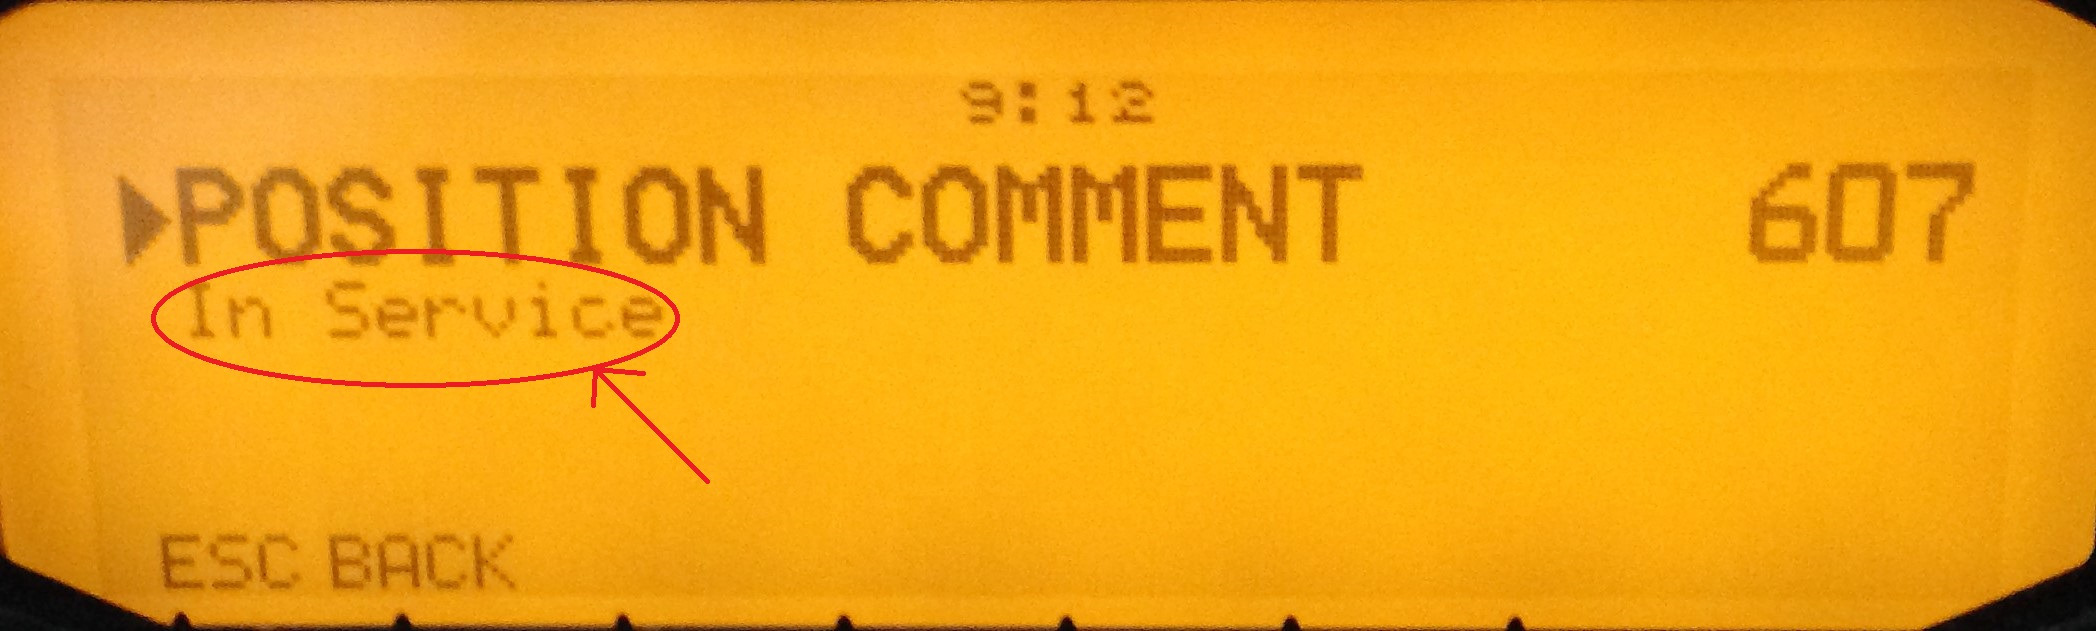
Menu 607 · Service status
Select IN SERVICE to indicate that the digipeater is operational.
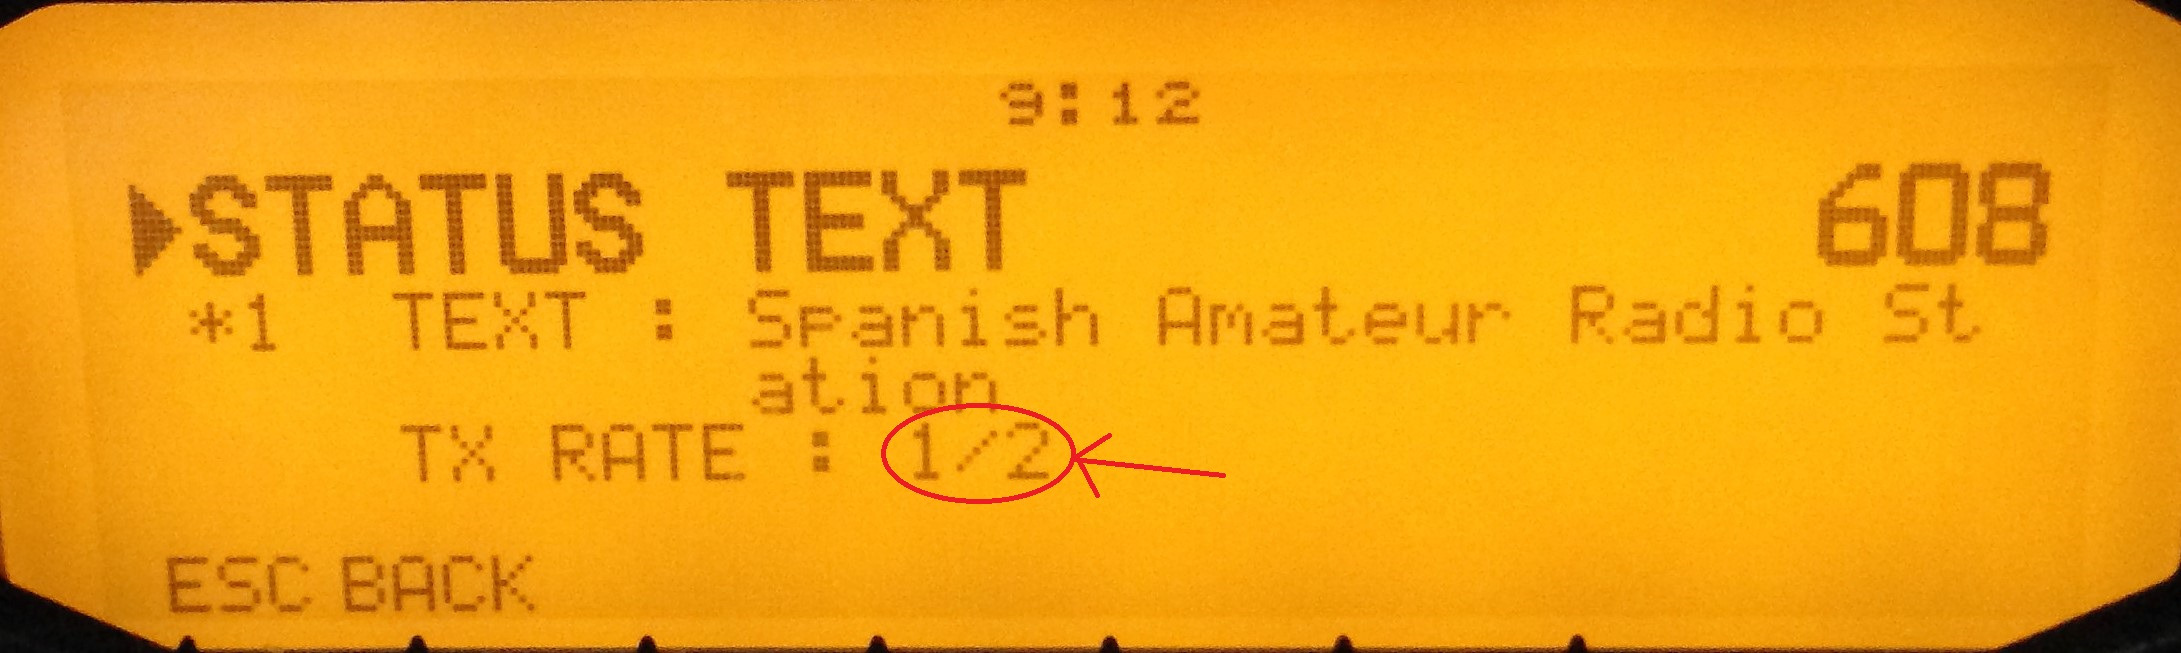
Menu 608 · Beacon text
Use a short, useful beacon comment. In TX RATE, avoid sending the full text with every beacon when it is not needed; 1/2, 1/3 or a lower rate can reduce unnecessary traffic.
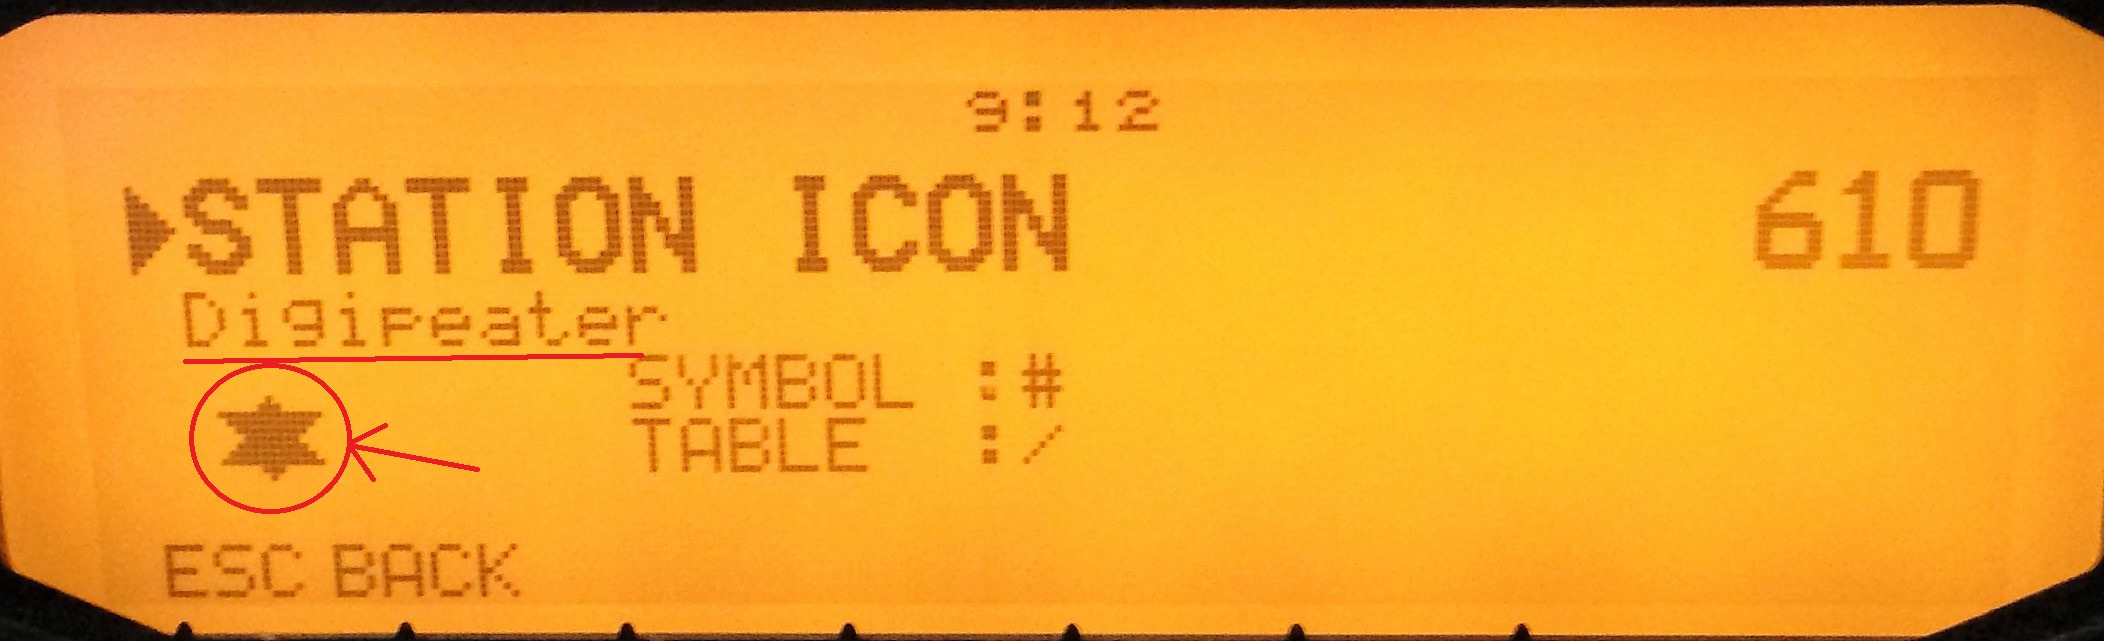
Menu 610 · APRS symbol
Select the DIGIPEATER symbol.
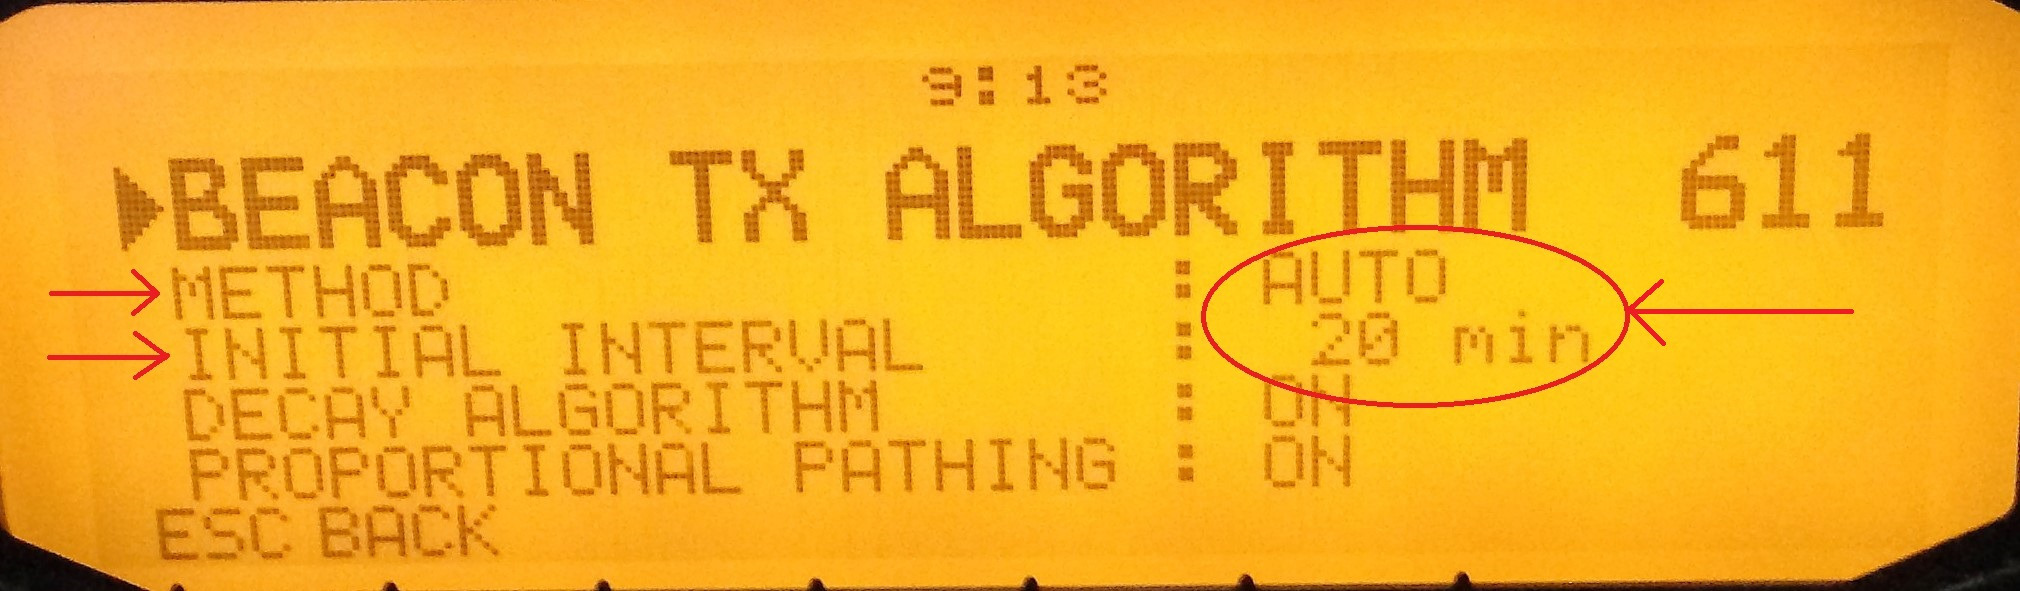
Menu 611 · Beacon method and interval
Set METHOD: AUTO. For a fixed station, use a conservative interval. The tested configuration used at least 20 minutes, with 30 or 60 minutes being reasonable where more frequent identification is unnecessary.
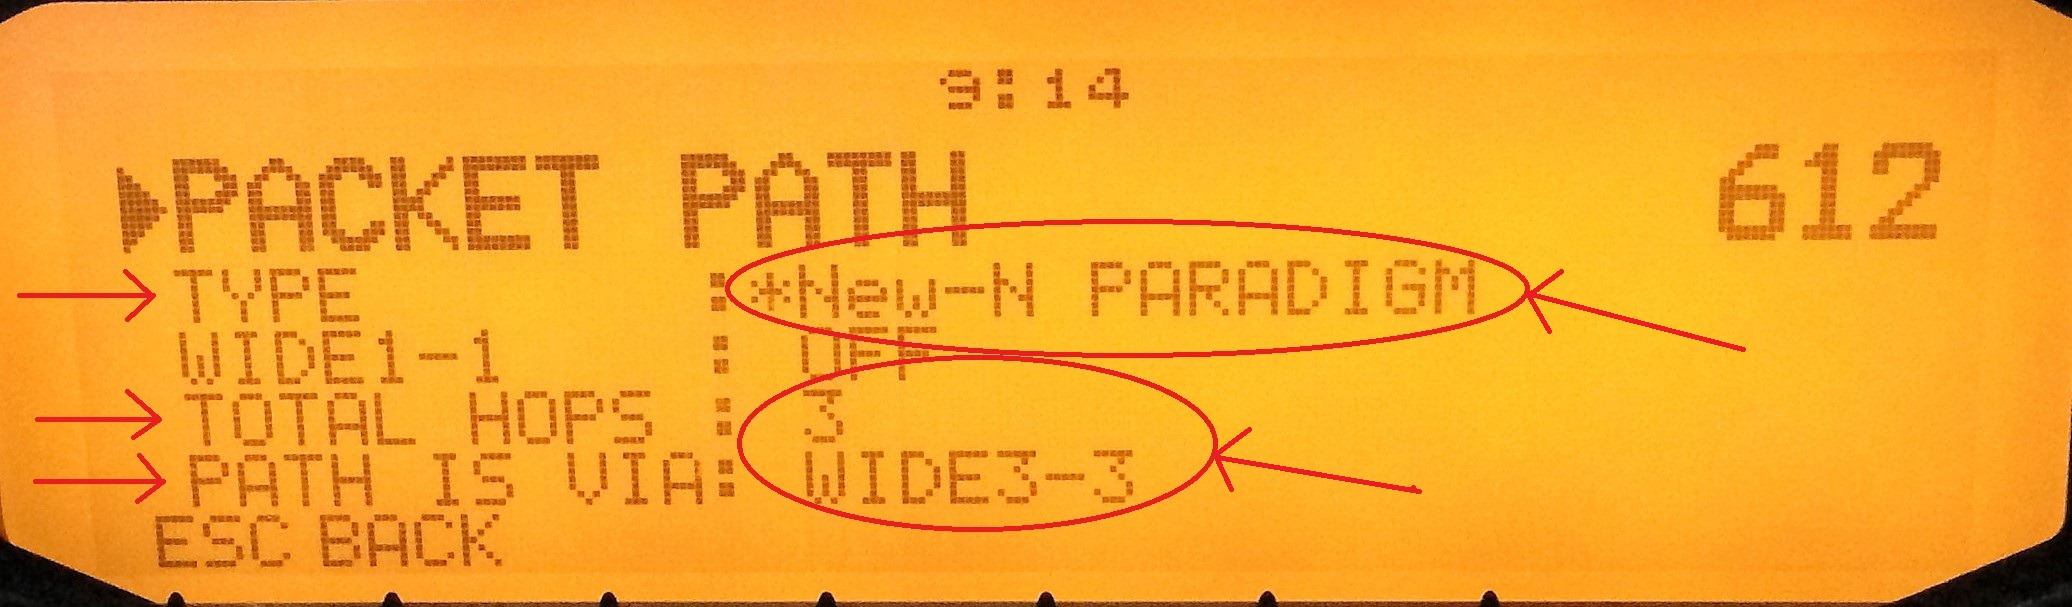
Menu 612 · APRS path
Use the modern WIDEn-N paradigm and avoid legacy TRACE or RELAY paths. Keep the path as short as practical; WIDE2-2 is generally preferable to an unnecessarily long path.
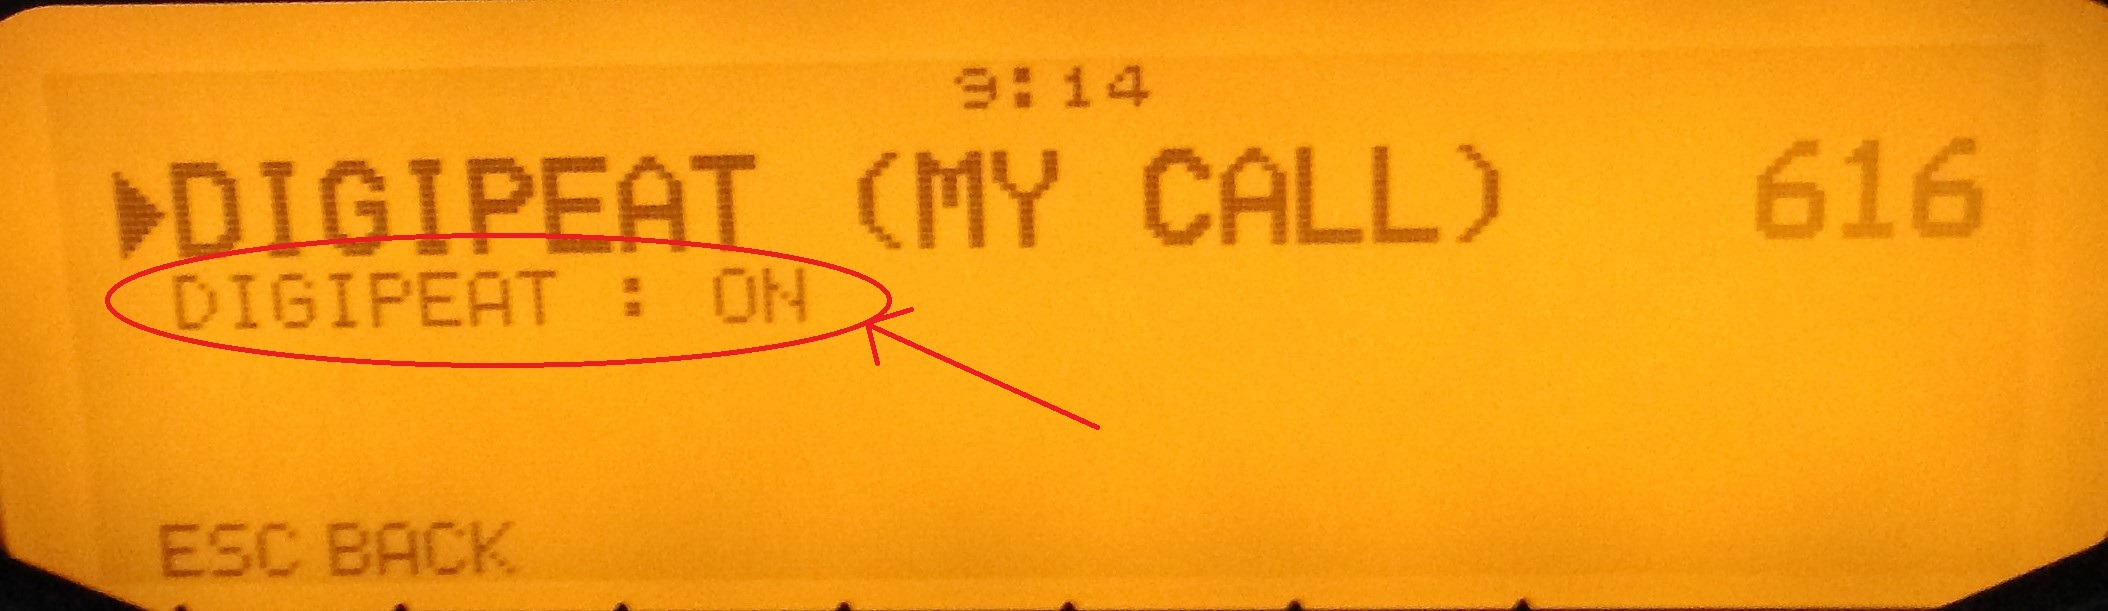
Menu 616 · Enable DIGIPEAT
Set DIGIPEAT: ON.
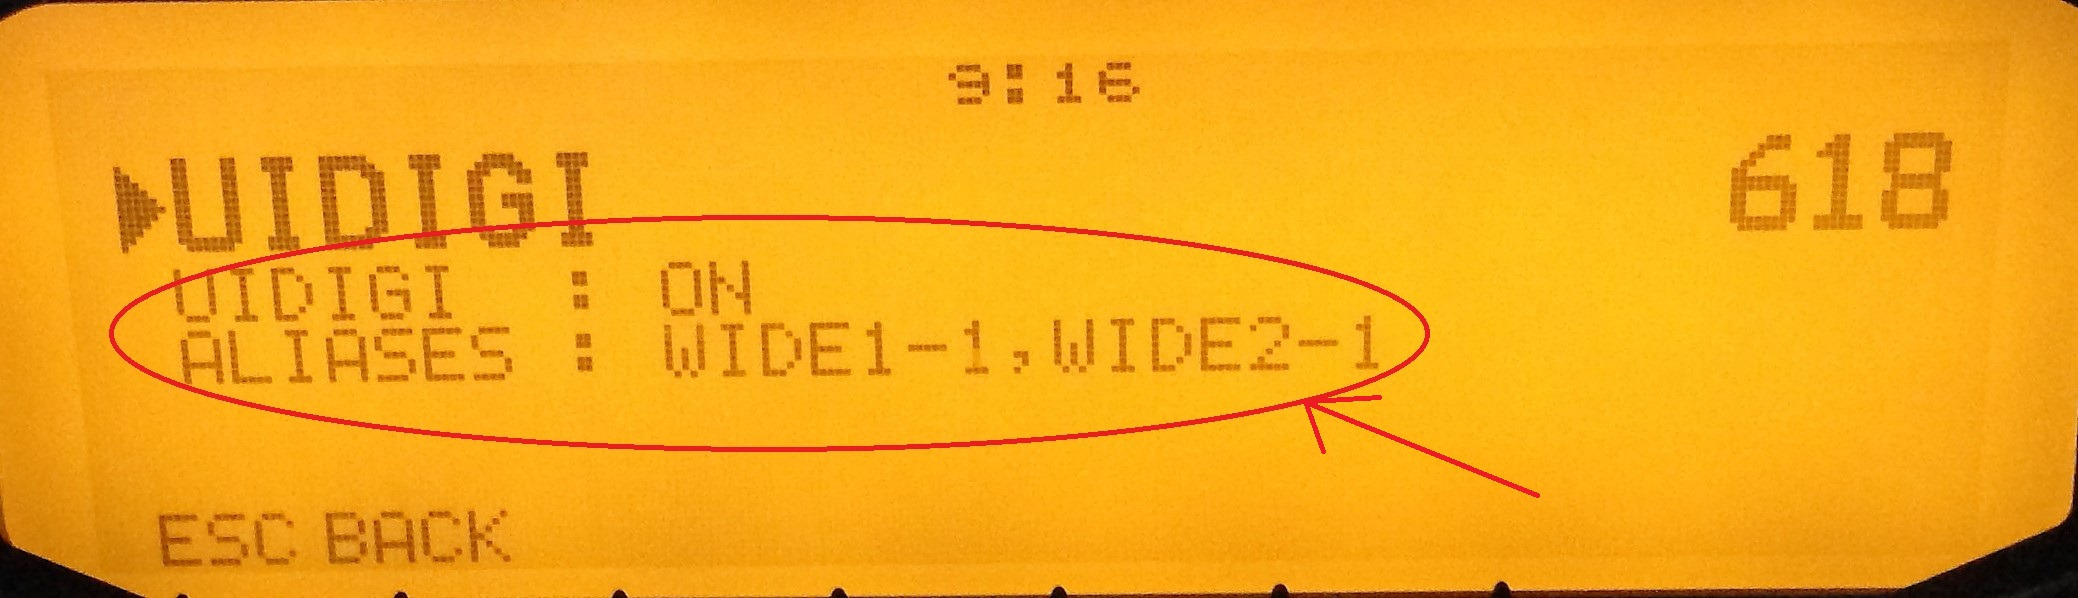
Menu 618 · UIDIGI
Set UIDIGI: ON. The original tested setup used WIDE1-1, WIDE2-1 under ALIASES.
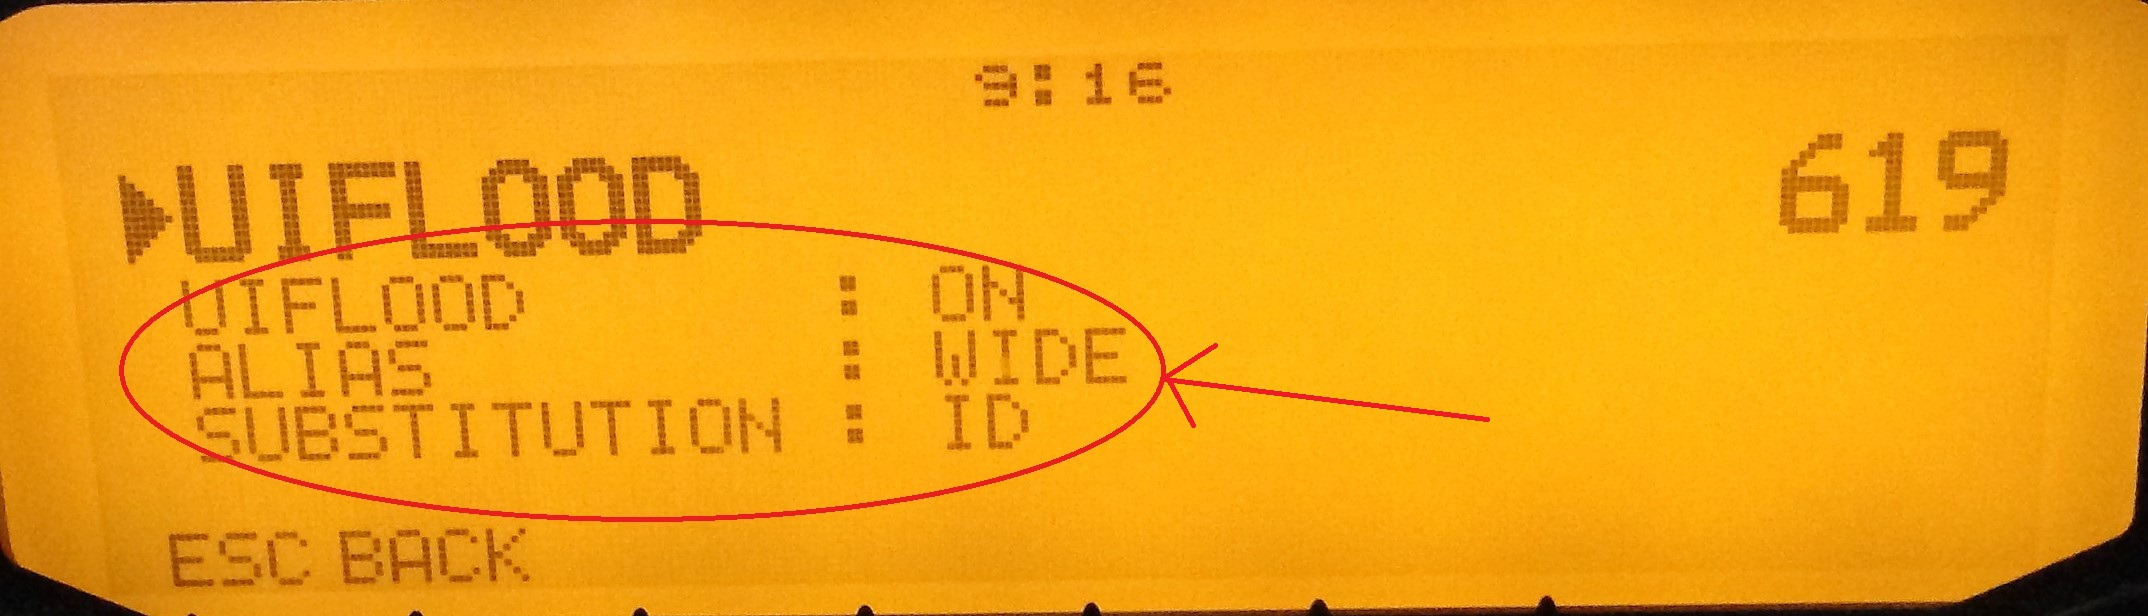
Menu 619 · UIFLOOD
Set UIFLOOD: ON, use WIDE as the alias and select ID for SUBSTITUTION.
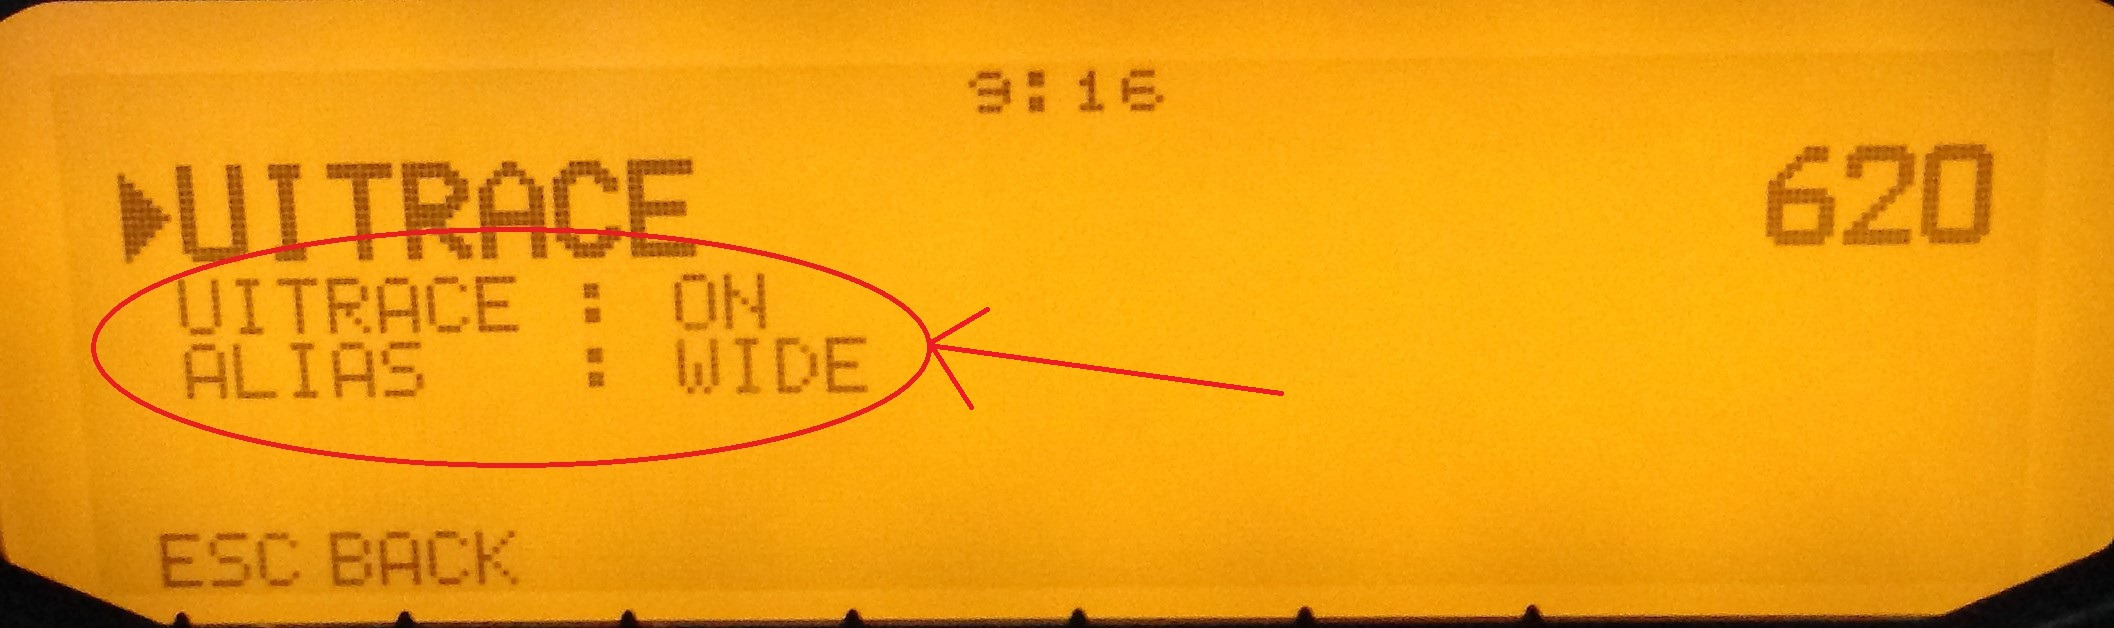
Menu 620 · UITRACE
Set UITRACE: ON and use WIDE as the alias.
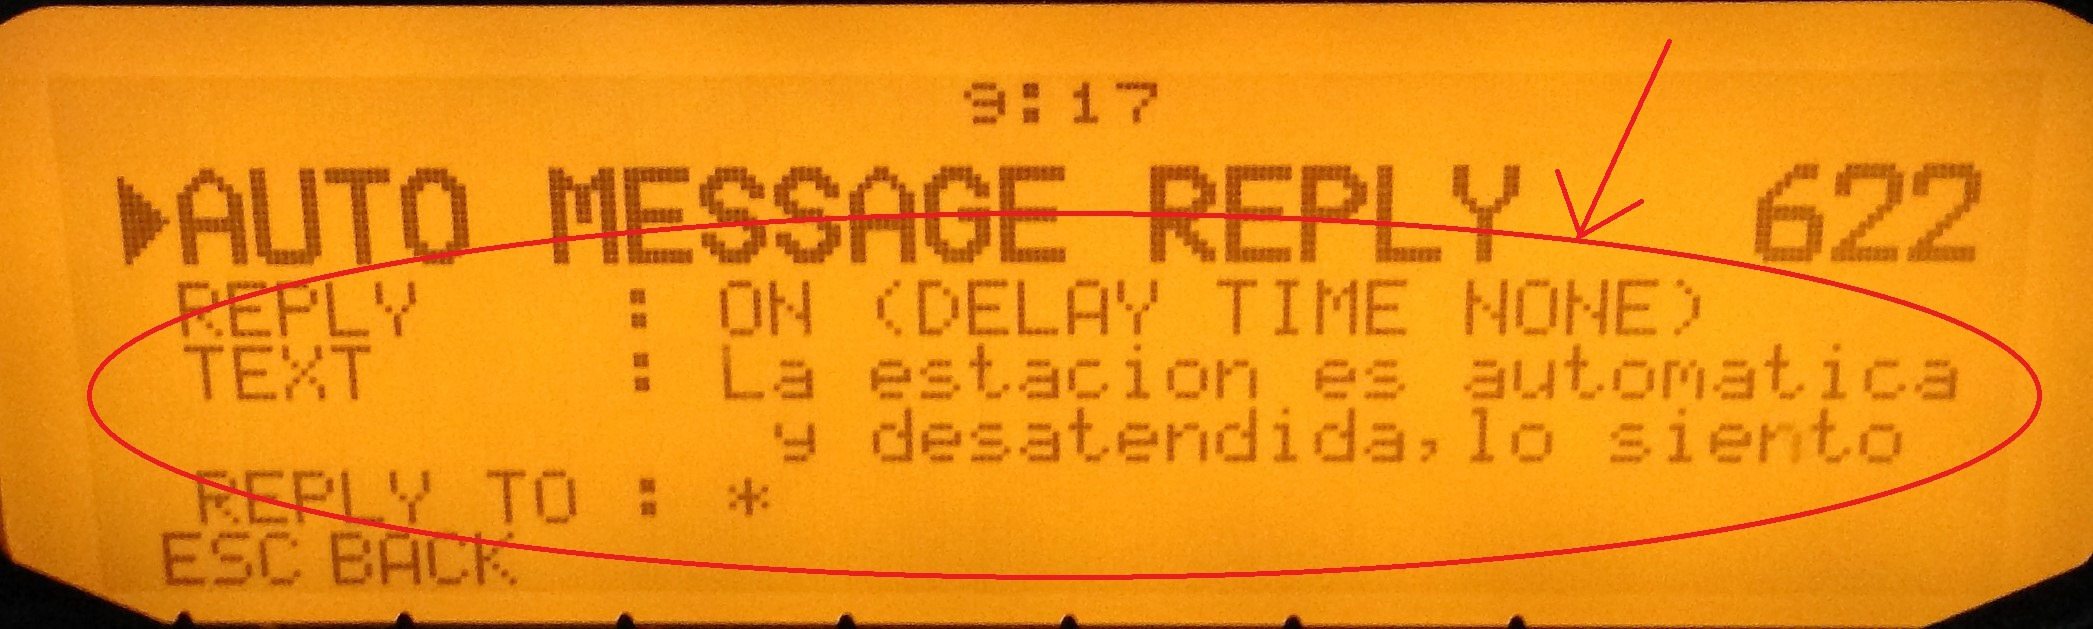
Menu 622 · Auto reply (optional)
If an automatic message reply is useful for your application, set REPLY: ON, enter the reply text and use * under REPLY TO. Avoid generating extra traffic without a clear purpose.
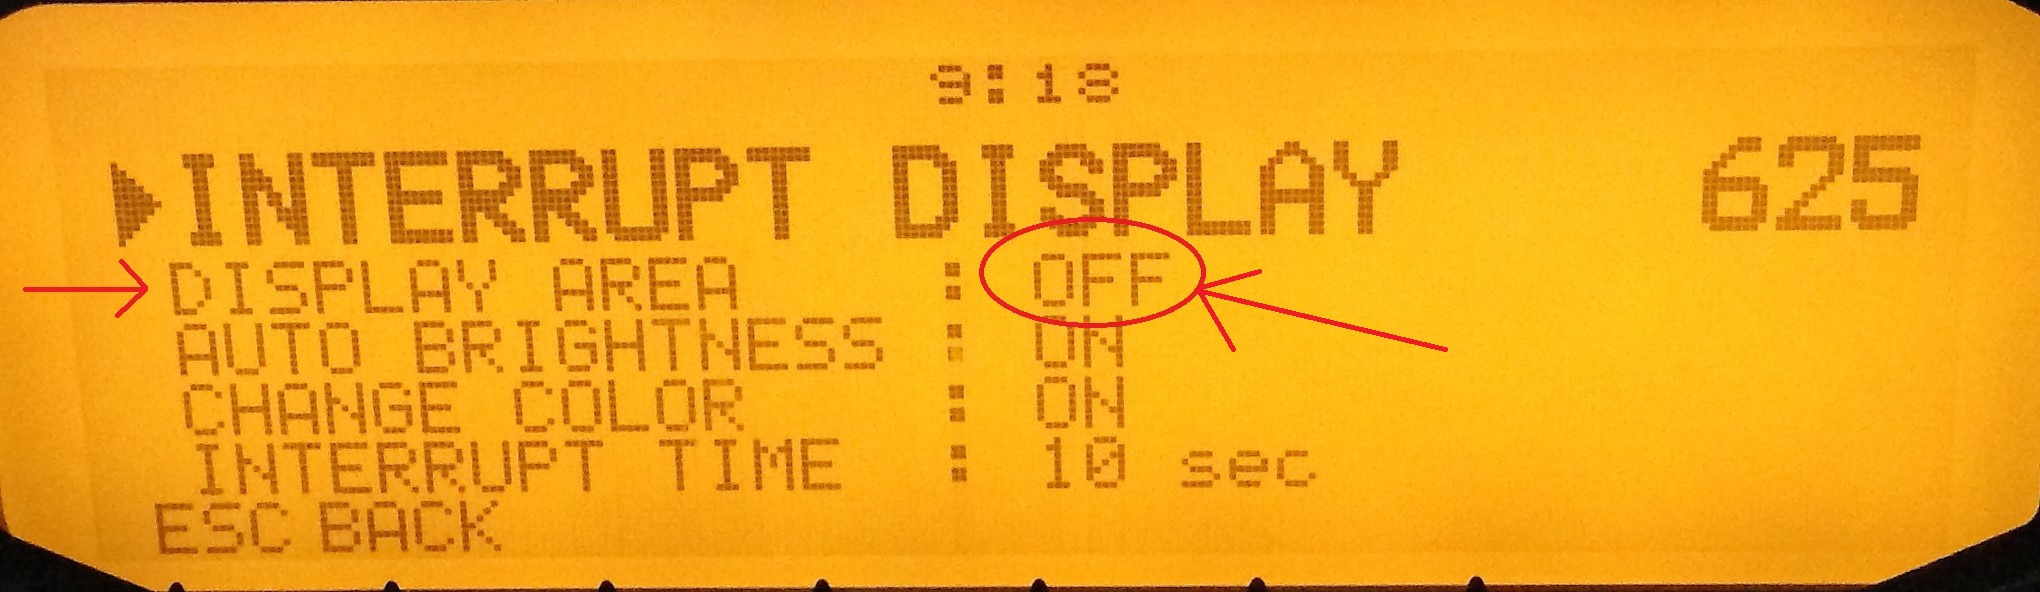
Menu 625 · Display area
The tested configuration used DISPLAY AREA: OFF.
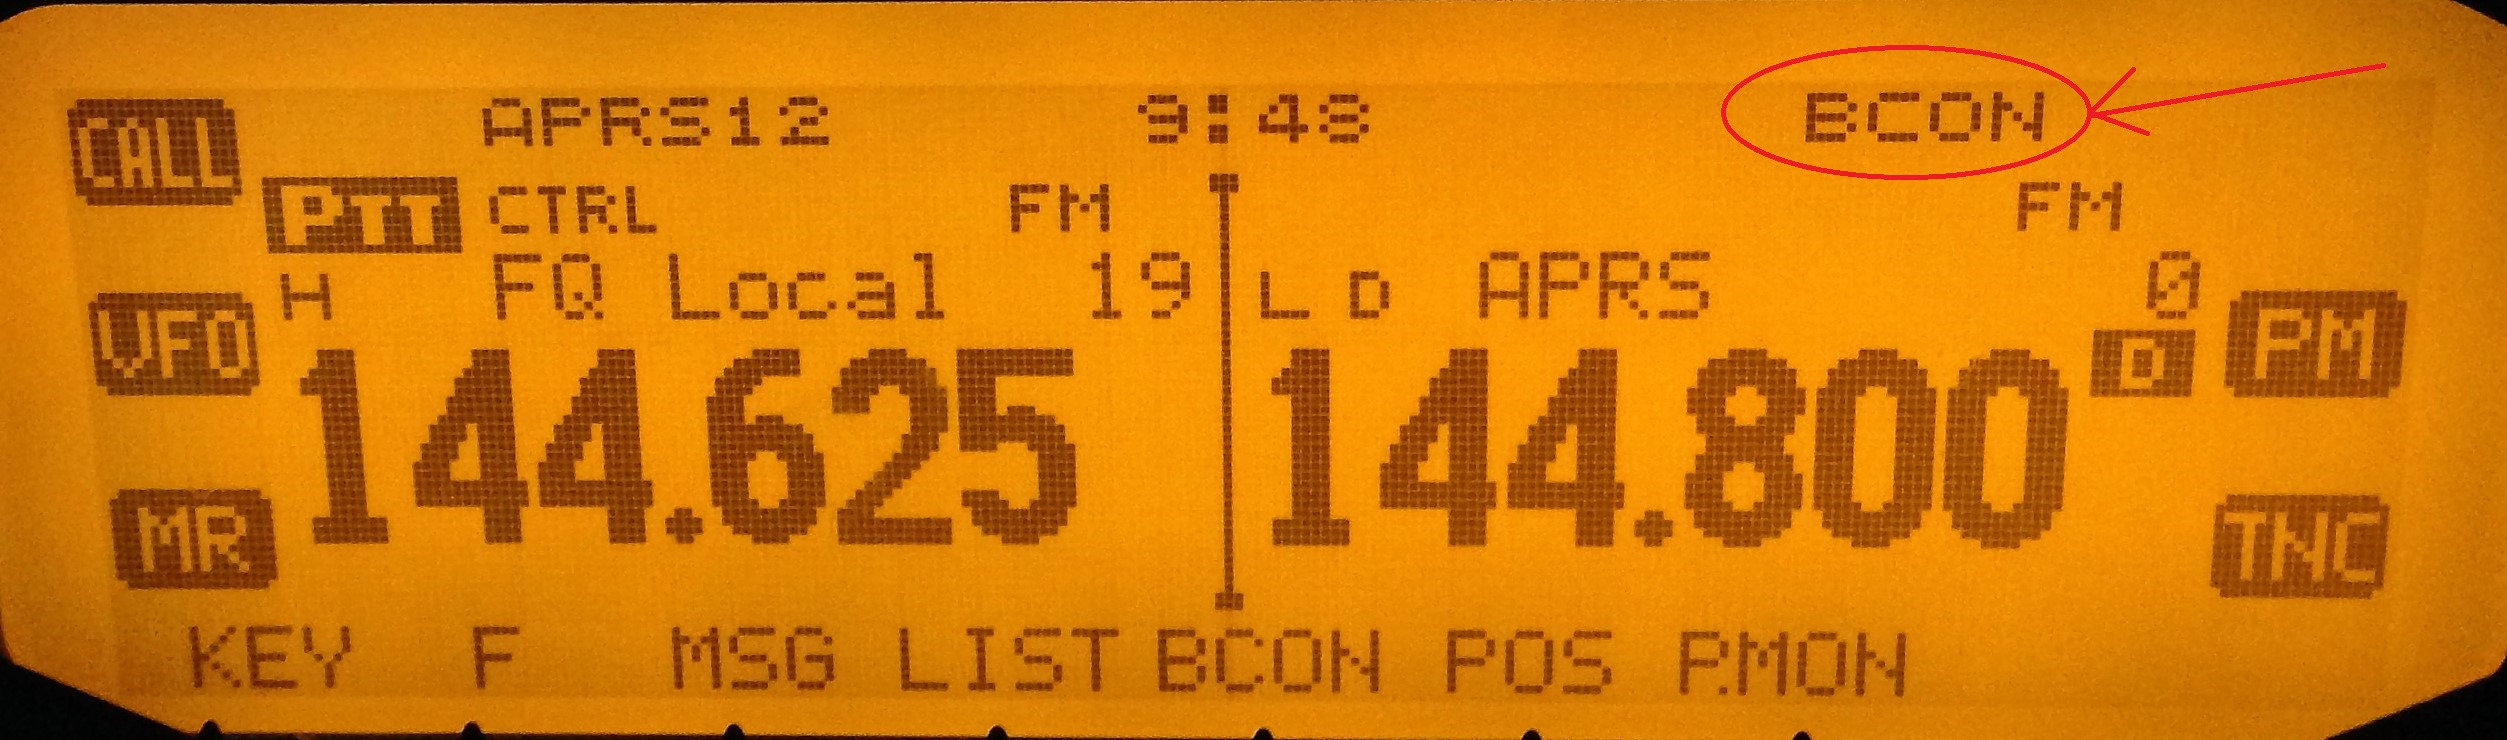
Enable the beacon
Exit the menus and return to the main display. Press [BCON]; the BCON indicator will appear and beaconing will follow the parameters you configured.
Frequently asked questions
Do I need a computer or an external TNC?
Not for the setup described here. The guide uses the APRS and digipeater functions built into the Kenwood TM-D710E.
Is the setup identical on the TM-D710A, TM-D710GE or TM-D700?
The models share many concepts, but this procedure was tested on a TM-D710E. Check the menus against the manual and firmware for your exact model.
Which APRS path should I use?
Keep the path as short as practical and adapt it to the local network. The guide uses the WIDEn-N approach and avoids legacy TRACE or RELAY paths.
Can I leave the digipeater unattended?
Automatic or unattended stations may be subject to specific regulatory requirements. Check your station authorisation and the current rules in the country of operation before permanent use.